
Your handthrown custom mug takes 3-6 weeks to make! There are many steps
Wedging
A ball of clay is and kneaded on a plaster table. When done properly, this removes any air bubbles from the clay. Air bubbles can explode in the kiln and often make the mug lopsided during the next step.
Throwing on the pottery wheel
This is my favorite step and the one that gives my business its name (Handthrown by Alyssa). Watch a super-speed video of my favorite part of the process:
The clay is plopped on the wheel and pushed to the center of the wheel while it's spinning.
First I pull the clay into a tall cone and then smush it down. I'm not exactly sure what is happening at a molecular level, but pulling it up and down makes the clay much easier to work with.
Then, I find the very middle with my finger and push down and out. With my left hand inside the pot and my right on the outside, I "pull" the clay up into tall cylinder. You'll often see me adding moisture to the clay so that my fingers don't skid on the surface.
Once the mug is about the height I'm looking for, it's time for shaping. I like the look of mugs that are just slightly bellied at the bottom of the mug. So I add this in. Then I use a wooden rib tool to smooth the outside of the mug, and a shammy to finish the rim. A finished rim feels super smooth on your lips while you're drinking.
The mug shape is ready to be removed from the wheel!
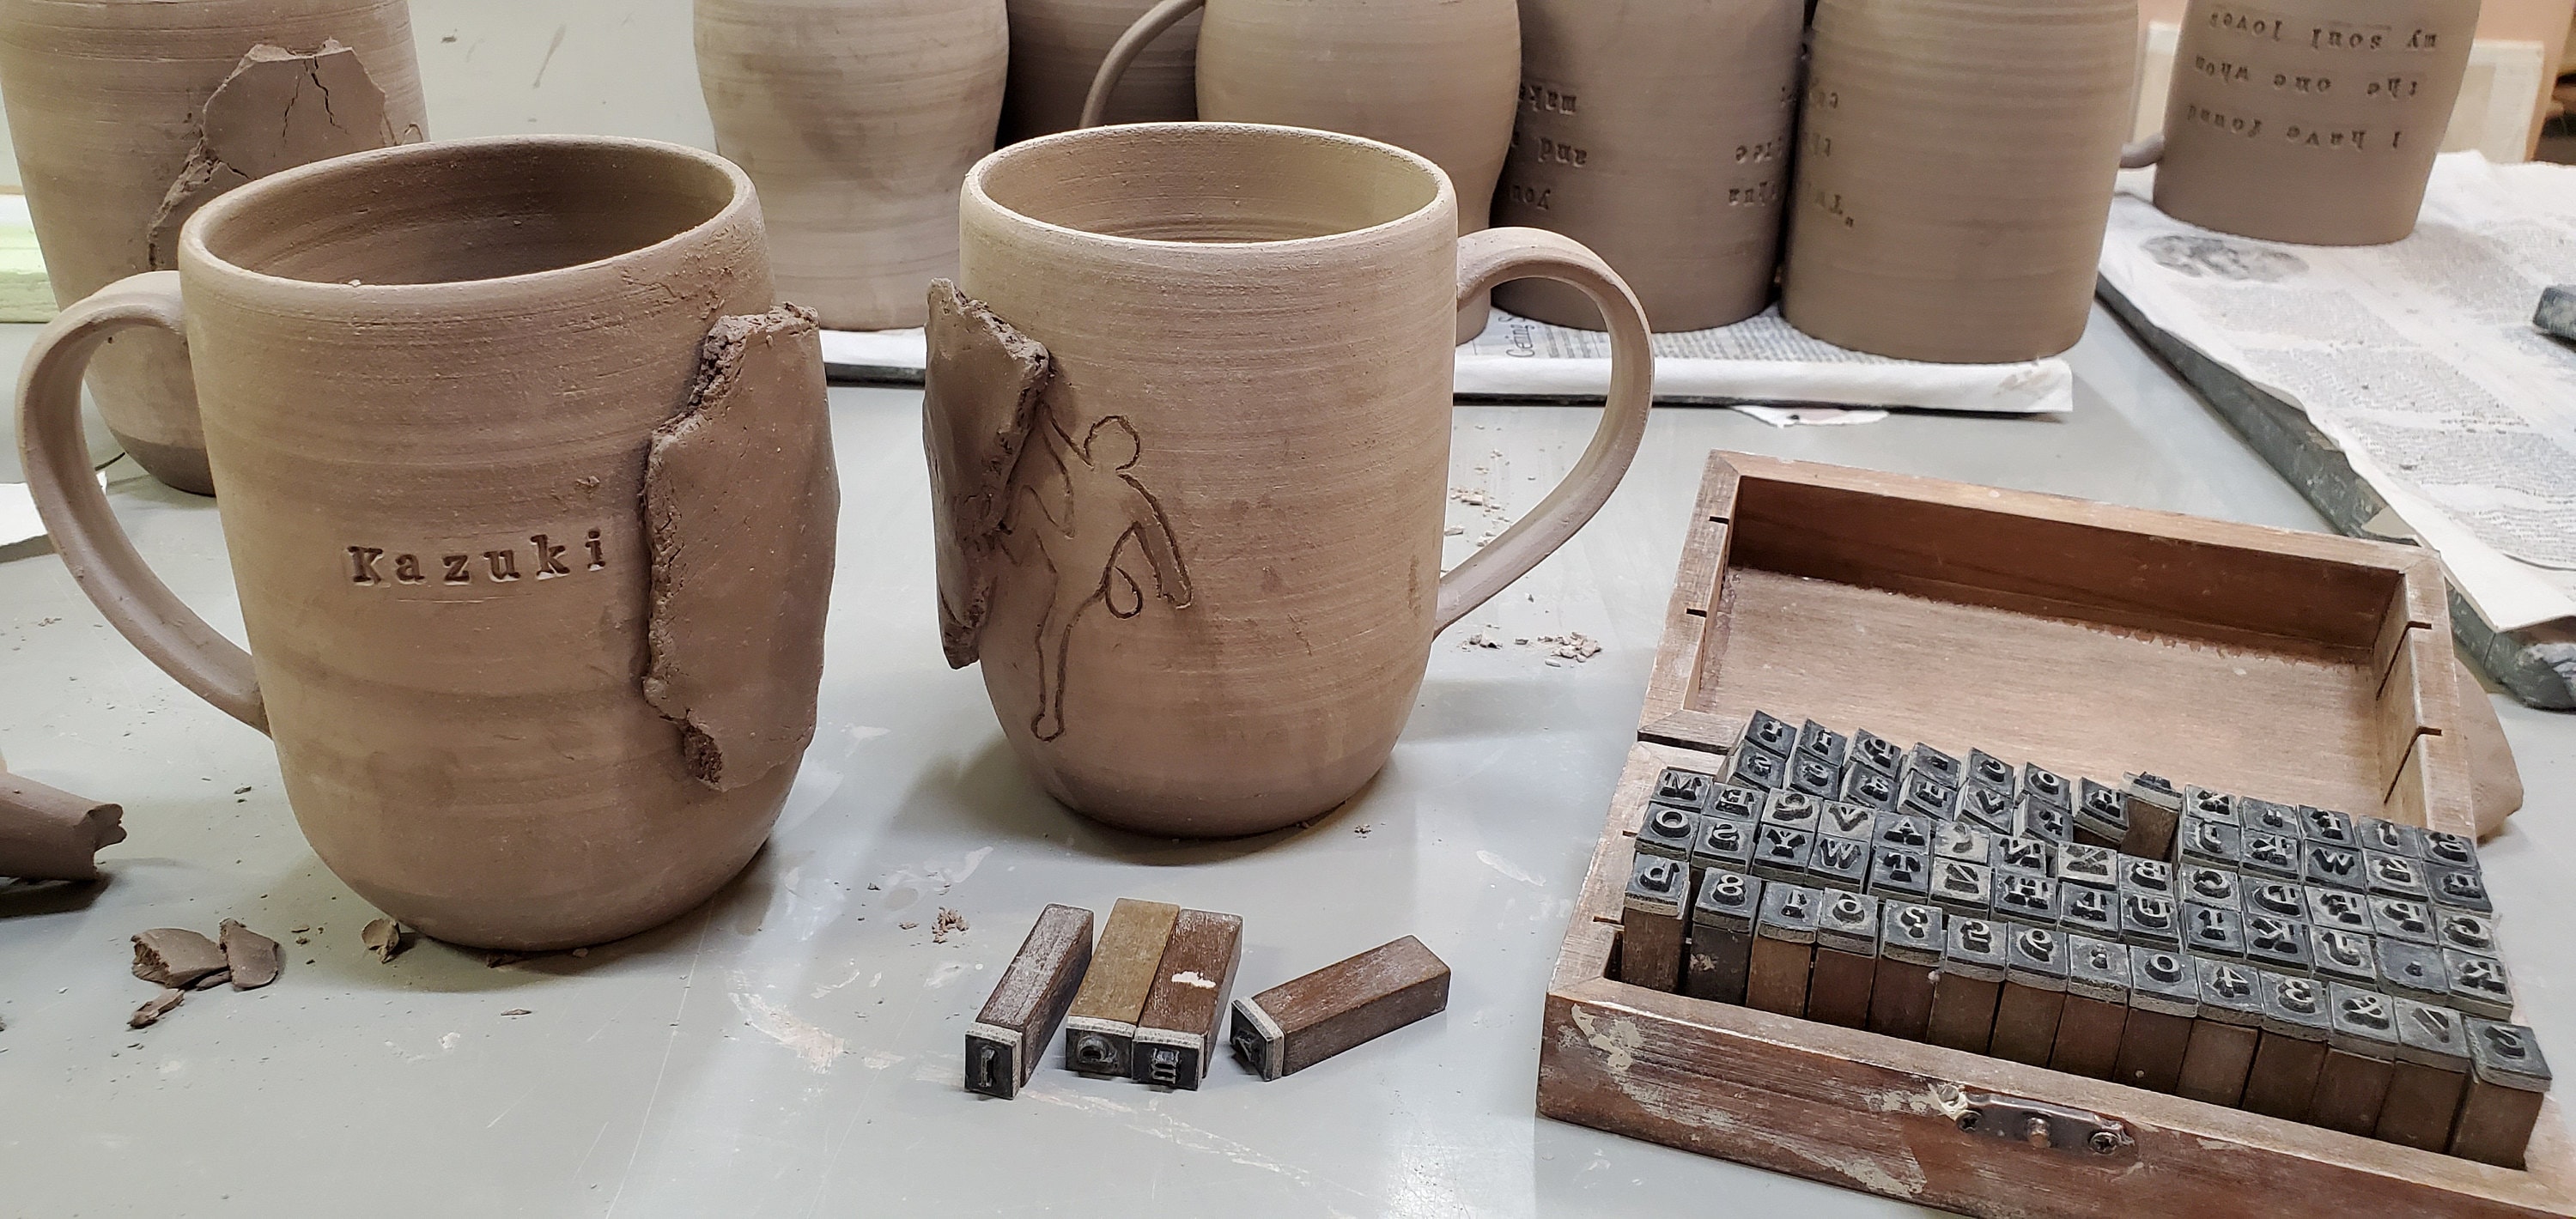
Stamping the words
The mug is let to dry until it is soft enough to be stamped but hard enough not to lose its shape. Each letter is individually pressed into the mug.
Trimming the excess off the bottom
The bottom of the mug needs a little love! The mug is turned upside-down on the wheel. The excess clay is shaved off to make the bottom of the mug beautifully rounded but with a flat foot.
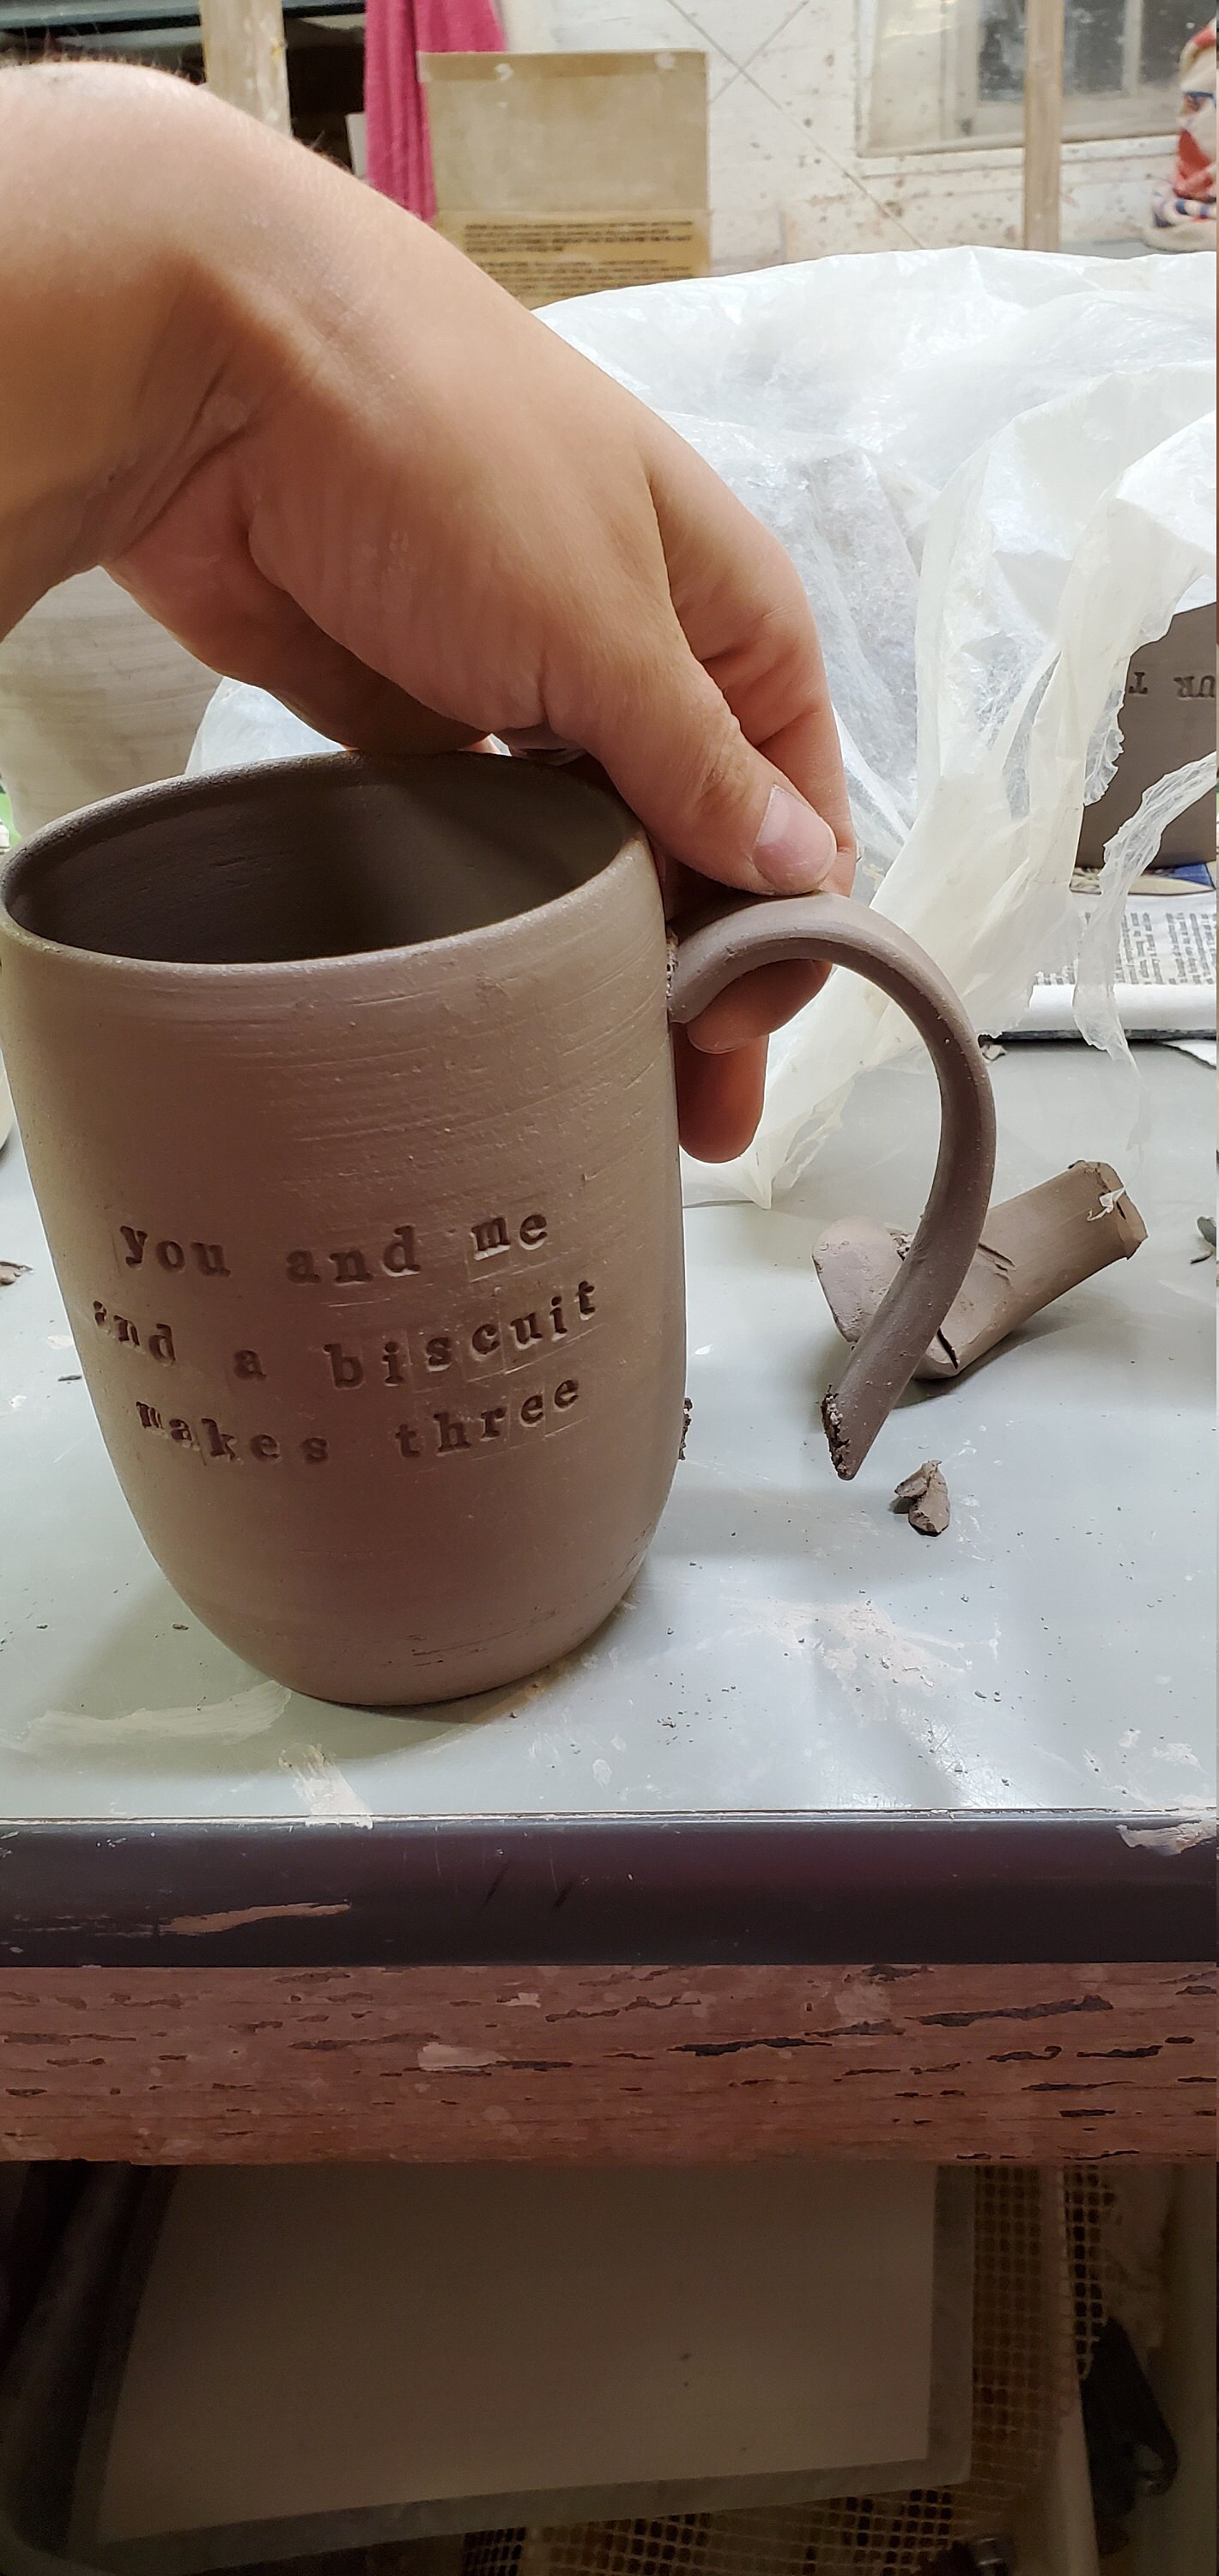
Adding the handle
The handle is made separately and attached to the mug.
Bisque firing in the kiln
Once the mug is bone dry, it can be put in the kiln to be fired for the first time. After this firing, the mug is much harder, similar to the consistency of plaster.
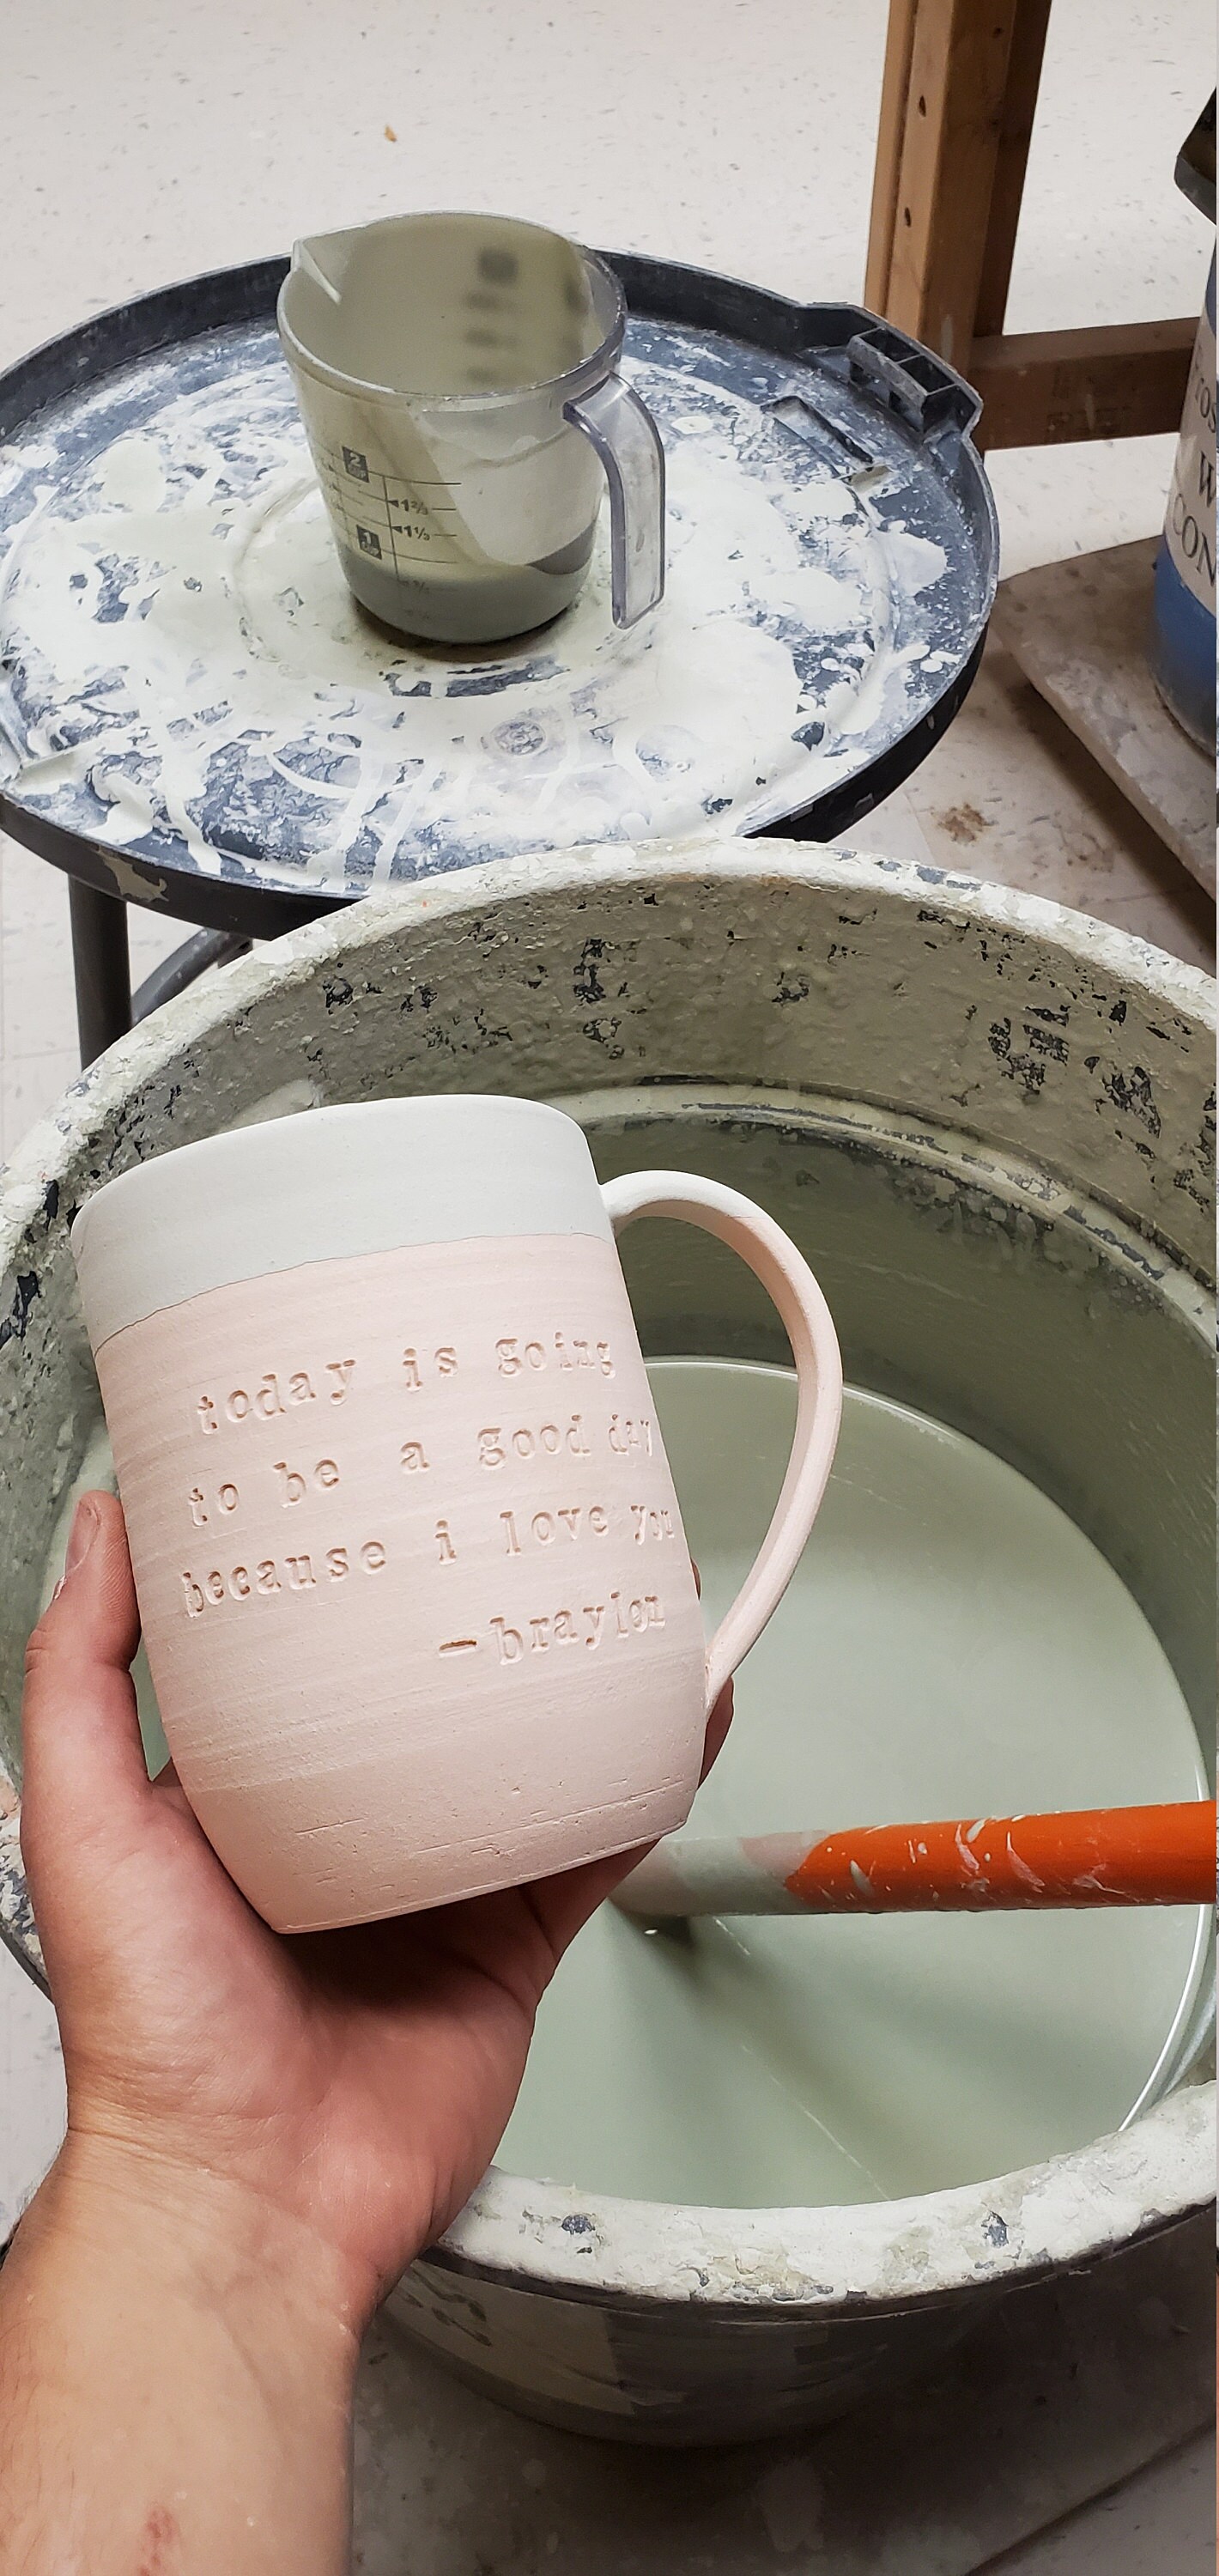
Adding glaze
Dust is wiped off of the mug. Then, glaze is poured into the inside. The rim is dipped in the color. The color of the glaze at this stage isn't always correlated to the color it will turn once it reaches temperature. For example, the chemicals in the blue glaze I use appear red before they are put in the kiln.
High firing in the kiln
The mug is put in the kiln again. This time, the temperature reaches over 2,000 degrees!